To upload build results to a file release in CollabNet SourceForge Enterprise or CollabNet TeamForge, configure the file release component as a post-build action in Hudson.
Before you set up the CollabNet plugin, make sure that the CollabNet SorceForge or TeamForge project contains valid package and
file release folders.
Note: All Hudson builds that succeed will get uploaded to the CollabNet file release. If you want
to upload only promoted builds, install the Hudson Promoted Builds plugin as well.
- In the Hudson interface for the job, click Configure.
- In the Post-build Actions section, select CollabNet File Release.
- Enter the URL of the CollabNet site. For example, https://forge.collab.net.
-
Enter the username and password of the CollabNet project member who will upload the files.
Note: This user must have at least view permission for the package.
-
Enter the name of the CollabNet project, the package and the file release where you want
the build files added.
Note: A package, and within that, a release, must exist before you can add individual files to that release.
- Specify whether you want existing files with the same name to be overwritten.
- Specify a file pattern so that files that match the pattern are uploaded. You may use Hudson environmental variables in your file patterns. For example, "pkg/subversion-r${SVN_REVISION}.tar.gz", in a job to build Subversion source code.
- Click Save.
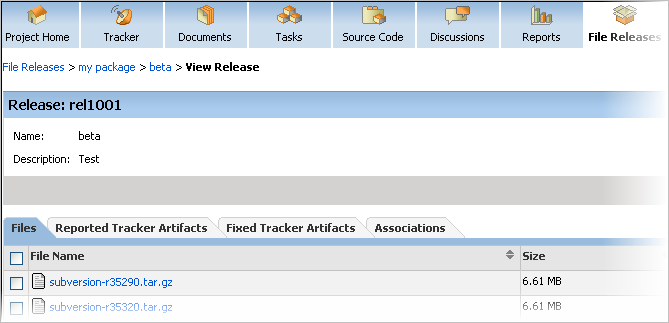
When the build completes, the files are uploaded into the file release. Here's an example
of the TeamForge
View Release page.
Note: To upload only specific, successful builds, you need to enter the CollabNet file release
information as an action for the build promotion process.